Steps To Use BungkusIT

Slurp Support
Last Update 5 tahun yang lalu
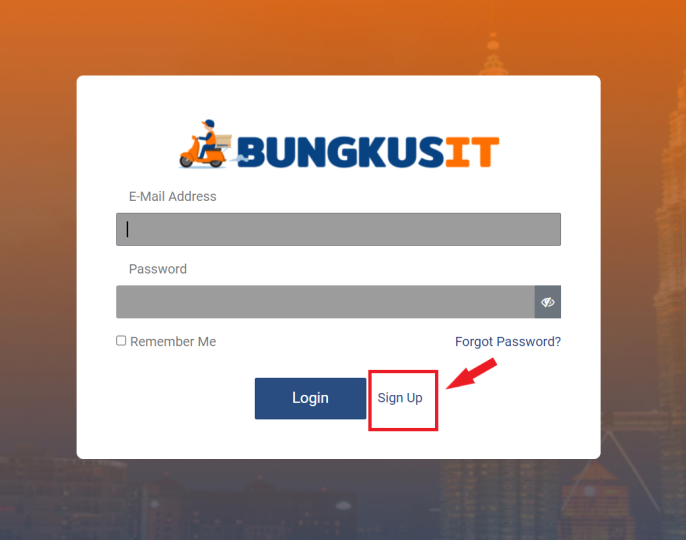
1. Click this link https://merchant.bungkusit.com.my/restaurant/login to sign up BungkusIT.
2. Click sign up button.
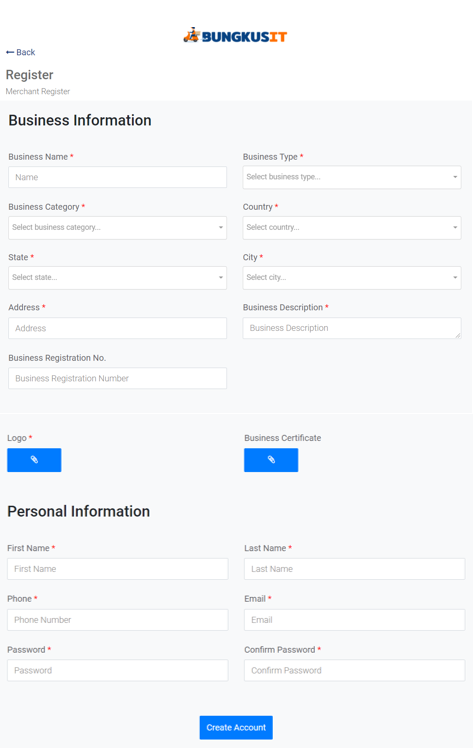
3. Fill in the form to proceed the registration.
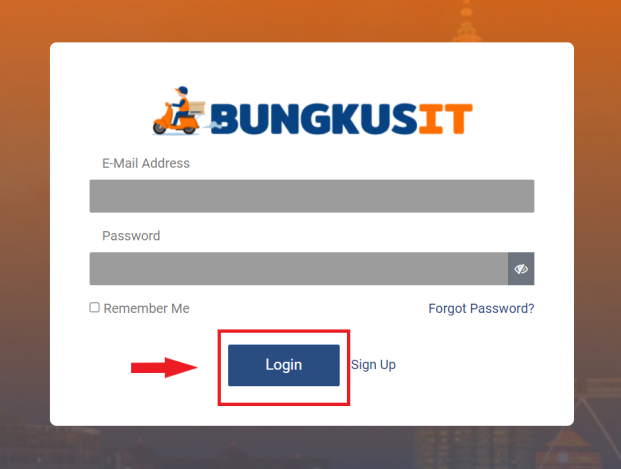
4. Once you have sign up, go to main page https://merchant.bungkusit.com.my/restaurant/login and log in BungkusIT.
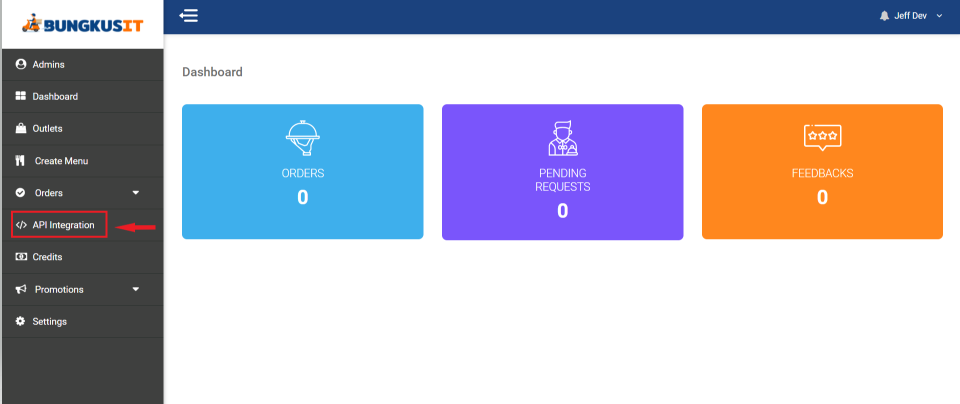
5. Click API integration.
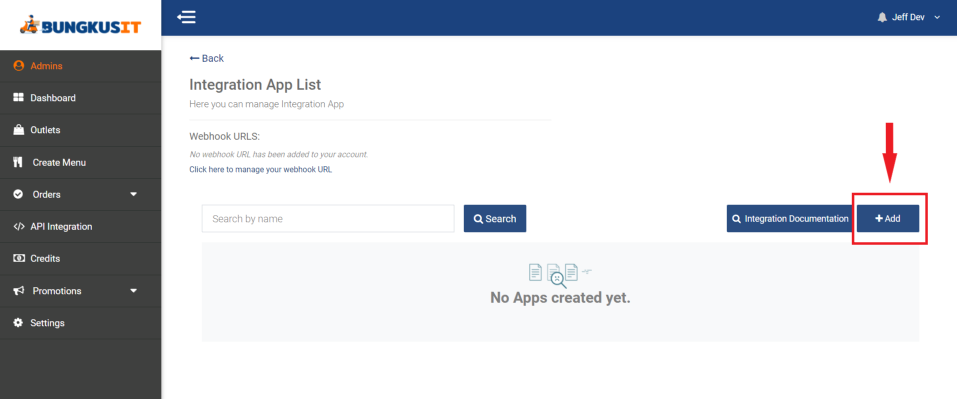
6. Click +Add button
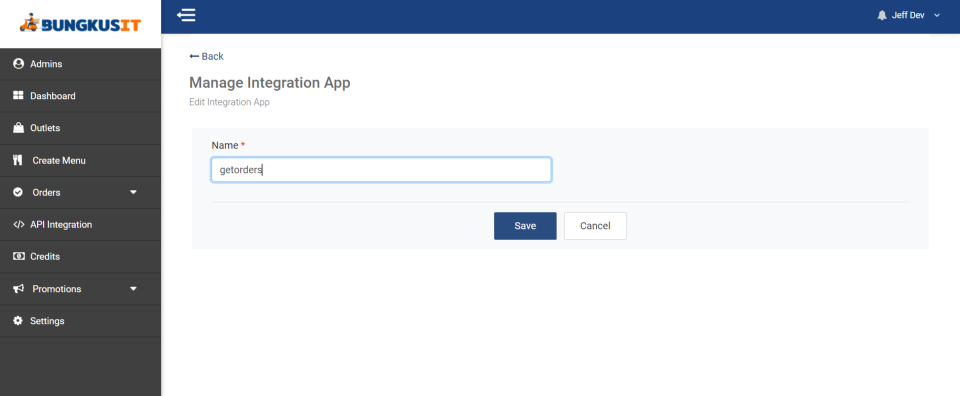
7. Insert the integration name and save.
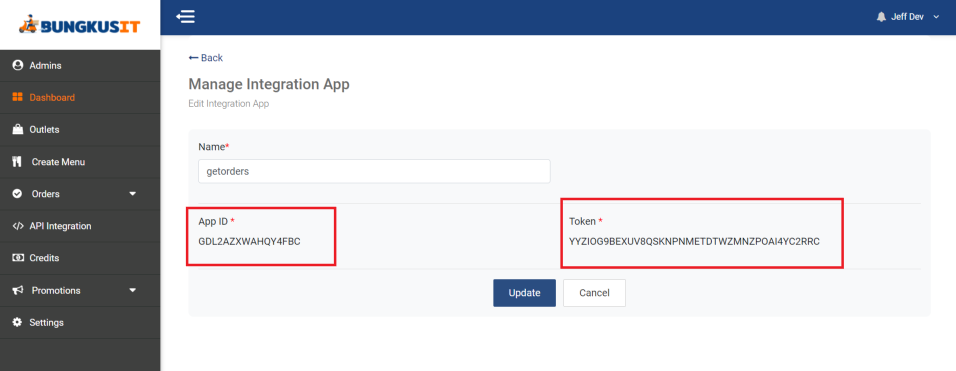
8. Click the edit button.
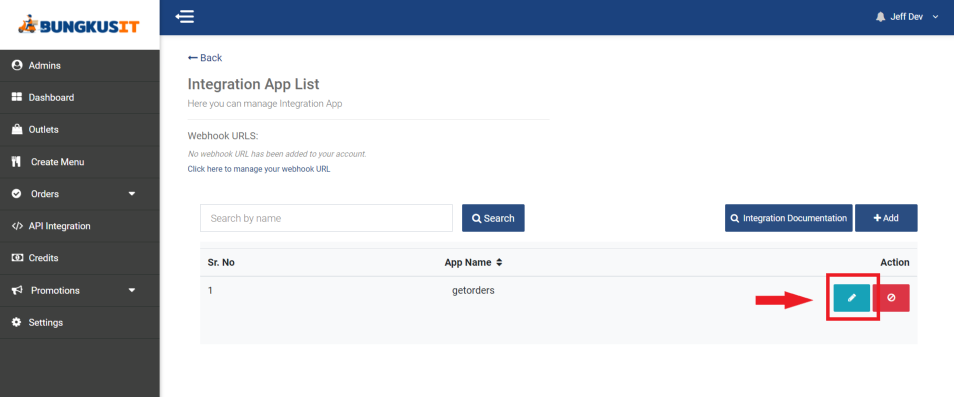
9. Copy the App ID and Token.
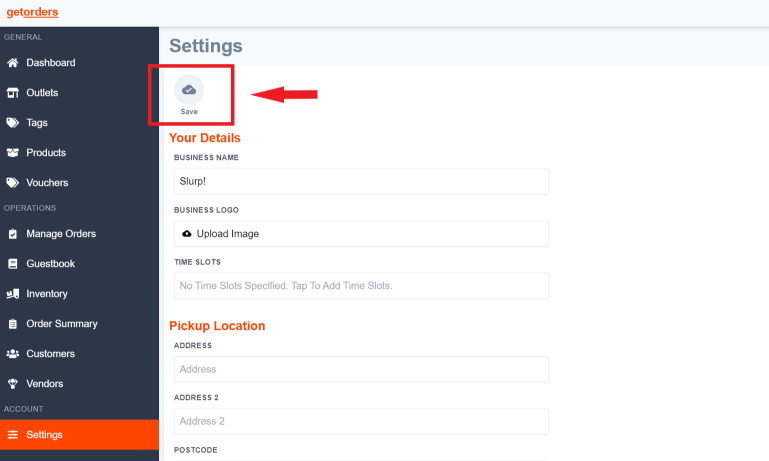
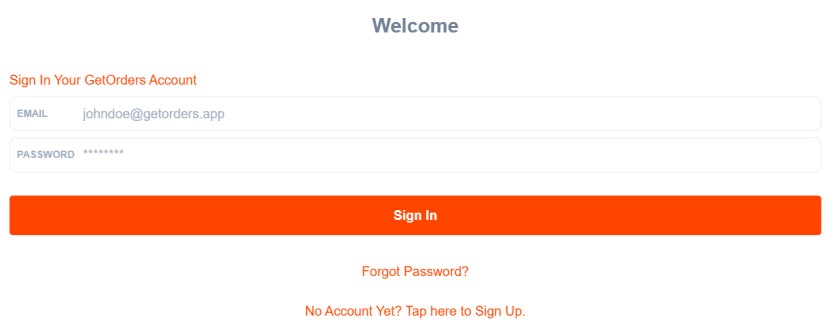
10. Sign In getorders
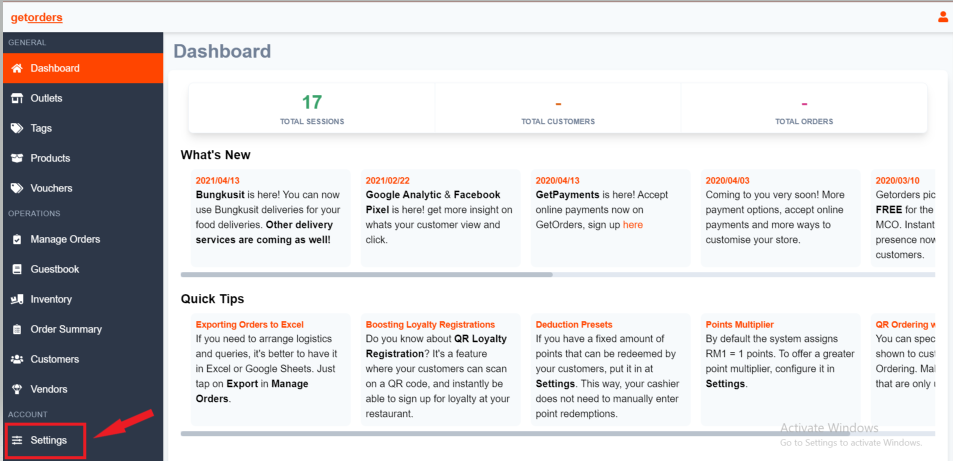
11. Go to setting.
12. Insert the token at Bungkusit App ID and Bungkusit Token Key
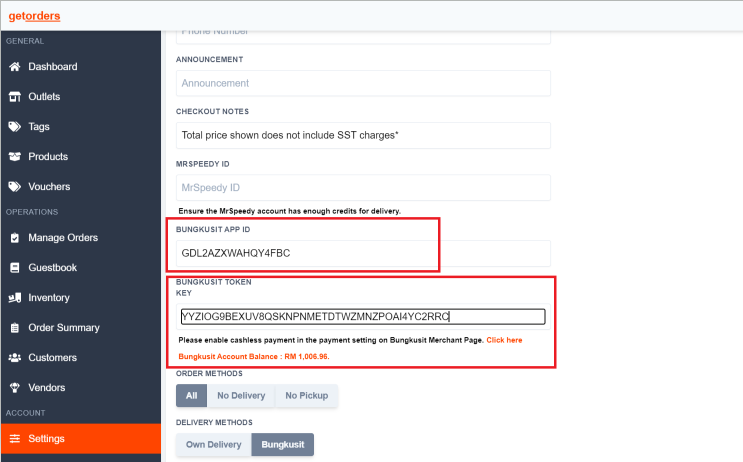
13. Click Save button.